
A beginner-friendly guide to at-home sugaring
HOW TO SUGAR WAX
Everything you need to know to get started sugar waxing at home. Conveniently located in one place.
Everything you need to know to get started sugar waxing at home. Conveniently located in one place.
Sugaring is a forgiving method. It’s used at body temperature, dissolves easily with warm water, and gives beginners space to learn as they go.
If you’re ready to try it yourself, here’s the simplest way to get started.
We want your experience to be as smooth as possible - please read through the full guide including the Important Info section and the full FAQ below, and be sure to review who should not sugar wax, before getting started. This guide is for informational purposes only and isn't a substitute for medical advice.
-
At room temperature and colder, sugar wax can seem quite solid and unworkable. If you receive a jar from us and are struggling to open the lid or feel like it is too hard to grab out with your hands - this is totally normal. Step 2 below covers how to get your jar ready for use.
Sugar wax is intended to be used at or near body temperature - It should never be used hot or runny! Always be careful not to overheat the wax. Details on warming are below in step 2.
We recommend always doing a patch test before trying a new product.
Always remember that sugar wax is water soluble - so if you ever get in a messy situation you can always remove it by dissolving with warm water (a wash cloth or a shower works great).
Our FAQ at the bottom of the page covers many concerns if you are wondering if sugar waxing is right for you.
Start with clean, dry skin.
Properly prepped skin is the foundation for great waxing results.
Starting with clean, dry skin ensures the wax adheres to the hair rather than slipping on oils, sweat, or product residue.
Prepped skin also helps reduce potential irritation, breakouts, & ingrown hairs, making the entire process more effective and comfortable.
1. PREP YOUR SKIN
-
Exfoliating before waxing removes dead skin cells and creates a smoother surface which allows hair to be removed more easily from the root - just avoid exfoliating too close to your session as this can make your skin more sensitive and prone to irritation. Aim to exfoliate with the timeframes mentioned below.
You can exfoliate using:
Physical exfoliants – such as a dry brush, exfoliating gloves, a loofah/African cleansing net, or a gentle scrub. Exfoliate 24-48 hours before waxing.
Chemical exfoliants – like AHA (alpha hydroxy acid) or BHA (beta hydroxy acid) products, which help dissolve dead skin cells without scrubbing. Allow at least 48-72 hours before waxing — they can thin and sensitize the skin more than physical exfoliants, which may cause irritation or skin lifting during waxing.
After waxing, wait 48-72 hours before resuming regular exfoliation to give your skin time to recover.
-
Here are two recommend ways to clean your skin before waxing:
Soap - Use a mild soap to wash oils and lotions off the area and pat dry. This includes washing your hands.
Rubbing alcohol- Apply a small amount of 70% rubbing alcohol with a cotton pad to disinfect the area & dry up any oils on the skin surface.
-
At home, wearing gloves when sugar waxing can help minimize the risk of breakouts, ingrown hairs, and infections. Gloves help prevent bacteria, oils, or cuts on your hands from contacting the waxed area. However, thoroughly washing your hands and ensuring they are free of cuts can also reduce these risks.
Since you’re working on your own skin, you don’t have all the same concerns a professional does when working with multiple clients. Gloves offer extra protection, but clean, well-prepared hands can reduce the risks to a level that many feel comfortable with.
Read more about considerations for deciding whether to wax with or without gloves in the FAQ at the bottom of this guide.

Apply powder in a thin layer. Allow the powder to sit for a few moments to absorb excess moisture & gently brush off any excess powder before applying your sugar wax.
Think of powder almost like flour when baking bread. If you don’t flour the countertop & your hands, the dough will stick too much to the surface.
If you find that your sugar wax is getting too sticky on your skin to be workable, you may need to add some more powder.
Next, sprinkle powder on your skin to absorb moisture and create a smoother waxing surface.
Your sugar wax needs to be the right consistency to give you the best results.
Using the right consistency matters. Our sugar wax is formulated to be firm and beginner-friendly, so there’s less guesswork as you learn.
If you store your wax in the refrigerator, you will need to either microwave your jar briefly (in 5-7 second intervals) or place your lidded jar in a bowl of warm (think, bath water temperature) water for 5-10 minutes until it is soft enough to scoop out of the jar with your fingers or our seashell butterknife.
The sugar paste should never be hot or runny- please be careful during this process to not burn yourself if you accidentally overheat it. In case it accidentally gets too hot, you can refrigerate it until firm enough to try again.
When your wax is at room temperature, it should be just loose enough so you can slowly ease it from the jar. If you wish for a bit more ease with removing it from the jar, you can follow the above instructions. If you store it on the counter, you are ready for the next steps.
P.S. Ideally, you will want to be sugaring in either an air conditioned environment or in similar conditions.
2. PREP YOUR SUGAR WAX
-
Sugar wax is a natural substance that changes consistency based on its temperature. Our sugar paste is formulated to work best in a room temperature environment warmed up to body temperature.
In warmer environments, sugar wax is less firm and becomes easier to manipulate and spread. Heat it up too much and it will become liquid (and also potentially burn you - it should never be hot and runny).
In colder environments, such as transit in winter or when stored in the fridge, it can become quite firm, making it difficult to get out of the jar.
Simply follow the steps outlined above to get the perfect consistency.
-
Sometimes you may find that your order arrives and the lid is difficult to twist off -when this happens the wax has firmed up during transportation while the box was upside down.
If this is you, don’t fret!
All you have to do is remove the cloth lid cover and run warm water over the lidded jar until it is easy to twist off.
-
This advice may fix it for you:
Sugar wax can sometimes develop a sticky top layer due to changes in temperature and humidity. When sugar wax is exposed to air or a cooler environment, moisture can draw into the top layer, causing it to become softer and stickier than the rest of the wax underneath in the jar, which tends to be firmer.
So when this happens and you try to use wax from just the top layer - which a lot of us do because we want to conserve the jar - it can turn into a messier experience than it should. This can happen to any sugar wax.
Don’t worry, this doesn’t mean there is anything wrong with your sugar wax!
To restore the wax to the correct consistency:
Warm It Slightly: Either place the jar in warm water for a few minutes or microwave the jar (without the lid) in 5-7 second intervals until it is warm enough to stir the whole jar with a hard utensil - something like a butter knife. When using the microwave use caution to avoid overheating. You just want it warm enough to stir. It should not be excessively runny or hot enough to burn you.
Stir Thoroughly: After gently warming, stir the wax to mix the top layer with the rest. This should evenly distribute the texture and moisture, bringing the wax back to its ideal consistency.
Warming and stirring helps restore the sugar wax's smooth, spreadable texture, making it easy to use.

Grab out your piece of sugar wax using this chart to estimate how much you’ll need.
This chart is a recommended starting point. The amount you need will vary from person to person. The more practiced you are with sugaring, the less you will need.
It may be easier to remove (especially if you have long nails) with a hard tool like our seashell spreader, but you can also use your hands.

To finish prepping your wax, knead it with your hands until it turns opaque, like golden taffy.
This final step warms the wax up to your body temperature and makes it an ideal consistency for spreading. If you warmed your sugar in the microwave [or used the warm water method] and it is gooey enough to spread on your skin with ease, you can skip kneading and continue to the next steps!
Let’s start with the basics of how sugaring works and then we will get into more specifics.
This stuff is essential to know no matter what sugaring techniques you use.
3. SUGARING

Before you remove the wax, make sure you are holding the skin of the area being waxed as taut as possible. This is so important for preventing bruising, as it keeps the skin from lifting with the wax. If this step is not followed, the skin will lift and “bounce back“ when you sugar the area and this can damage the underlying tissues, causing bruising.
When you are ready to remove the wax, pull it in one swift motion in the same direction your hair growth pattern follows. The motion should not pull up (as this could cause “bounce back” and lead to bruising). It should pull parallel to your skin.
Ready? One, two, three… flick!
Note: Don’t throw away the wax just yet! Unless you are using strips, you can keep reusing the same glob of sugar wax until it is thick with hair and has lost its elasticity.
Sugar wax should be applied in the opposite direction of your hair growth pattern.

Sugar wax should be removed in the same direction of your hair growth pattern.
Take your sugar wax and place it at the base where you want to wax, allow it to soften on your skin for a moment, then slowly start spreading it in the opposite direction of your hair growth pattern using your hand or a tool (you can use something like our seashell applicator or other things you may have lying around like an old credit credit card).
Mold the wax to the skin, going over the area 3 times to to ensure the wax encases and adheres strongly to all the hairs.
Note: If at any point you find yourself in a sticky situation, don’t worry! Sugar wax is water soluble - so you can easily dissolve it from your skin with warm water, pat the area dry, and start over.
Tips for finding your hair growth pattern are located in the FAQ at the bottom of this page.

Immediately after applying the sugar wax, place a fabric strip over it, leaving a small portion at the end free of wax for easy gripping.
Press the fabric strip firmly onto the waxed area, ensuring good adhesion.
Hold the skin taut/tight with one hand, and with the other hand, grab the free end of the fabric strip.
Pull the strip off quickly in the same direction of hair growth, keeping it close to the skin and parallel to the surface.
Use your hand to apply pressure immediately after removing the hair to provide immediate relief, reduce redness, remove residue, close pores, and support the skin's recovery process.
Note: While using strips in certain areas makes sugaring much easier, the sugar wax on the strips cannot be easily reused the way it can when using your hands or an applicator.
SUGARING WITH STRIPS
TIPS FOR SENSITIVE AREAS

BROWS & LIPS
For precise application, our stainless steel detail applicator gives you clean, controlled placement in small areas.
Strips work especially well here.
If you go over the area more than once, we recommend re-powdering between passes. This helps with performance and protects your sensitive skin.
Facial skin lifts easily, so don’t forget to hold your skin taut.
After waxing, skip makeup and use only non-comedogenic products for 24-48 hours.

UNDERARMS
Make sure the area is clean and free of deodorant before you begin - residue on the skin gets in the way of the wax gripping the hair properly.
Underarm hair can grow in multiple directions, so take a look at your growth pattern before you start and work in small sections that follow it rather than going for everything at once.
Don’t forget to hold your skin taut when removing. The best way to do this is to raise the arm you're waxing and grip the front of your underarm with the same hand, pulling it taut. Then, pull your elbow back - it helps tighten the whole area, which is key for preventing bruising.

BIKINI
For a full walkthrough of how to sugar wax the bikini area at home, check out our in-depth guide.
A hand mirror is essential - prop your leg up on the edge of a tub or a stool to get a clear view of what you're working with.
After waxing, allow the area to recover for 24-48 hours. Wear cotton underwear and loose clothing, avoid hot baths, intense workouts, and sex for that time, and keep the skin free of fragrance and comedogenic products. Your hair follicles are open and exposed after waxing - this makes the area more susceptible to bacteria and irritation, so keeping it clean and protected during this window is important.

LEGS
Use a glob of wax about the size of a golf ball for each leg.
Don't forget that you can keep reusing the same glob of wax until it is thick with hair and loses its elasticity.
For the back of the leg: we recommend using a hand mirror and propping up your leg so you can see exactly what you're doing.
Strips are your best friend on the back of the leg. Reaching around to hand-flick wax at that angle can be awkward, and strips can give you a clean, controlled pull even when visibility is limited.
4. POST-WAX
Follow these steps after sugar waxing to minimize irritation and promote healthy skin recovery.
After waxing, remove any residual wax from your skin using warm water or a clean, damp cloth.
Apply soothing aftercare such as aloe or witch hazel and moisturize with a fragrance-free, non-comedogenic oil like jojoba or grape seed to calm the skin and prevent any potential irritation.
Avoid hot baths, saunas, sex (if you waxed your bikini area) and swimming pools for at about 24 hours after waxing to allow the skin to recover.
Now you’re ready for your first at-home sugaring session!
We think you’ll get the hang of it pretty quickly. Like with anything worthwhile, there is a learning curve - but the results are totally worth it. If you have any additional questions, feel free to scroll to the FAQ at the bottom of this page and follow us on social media - we post sugaring videos regularly.


Frequently Asked Sugaring Questions -
Frequently Asked Sugaring Questions -
FAQ
-
Why is my sugar wax stringy?
Stringy sugar wax can occur for a couple reasons:
1. When removed improperly by pulling wax in an upward motion, rather than removing the wax parallel to the skin.
2. If wax is too warm it can lose its viscosity and become stringy. Please see the answer to the question below.
My sugar wax is too sticky, what can I do?
Sugar wax IS a sticky substance - that is how it is able to adhere to your hairs and remove them. However, it should not be runny or hot. Sugar wax adjusts to the temperature of the environment it is in. Because of this, if it is heated too much, you are in a warm environment, or if your body temperature runs really high, you may find that your sugar wax is a little too runny to be workable. This can be remedied by cooling the wax in the fridge for a few minutes, moving to a cooler location, or adjusting your application technique (warmer wax works well with strips and can work well when using a hand tool, working quickly). Additionally, if you find your sugar is a little too sticky to be workable, you may need to apply more powder to your skin. The ideal consistency for sugaring with our sugar paste is a consistency similar to silly putty or taffy - only a little stickier.
I got a bruise while waxing, what can I do?
If you do experience bruising after waxing, here are some tips to help alleviate any discomfort:
1. Apply a Cold Compress: This can help reduce inflammation and minimize the appearance of the bruise. Apply for 10-15 minutes at a time.
2. Avoid Heat and Excessive Sun Exposure: Heat can worsen bruising and prolong the healing process.
3. Gentle Massage: After a day or two, you can gently massage the bruised area to promote blood circulation and aid in the healing process.
Refer to the FAQ section on preventing bruising to avoid this in future sugaring sessions!
I noticed my skin bleed a little after waxing, is this normal?
Yes, this can be normal. When sugar wax removes hair from the root, it sometimes disturbs small blood vessels near the surface of the skin, causing what is called 'pinprick bleeding' which is common and temporary. The bleeding should be very minor and resolve on its own quickly - if you experience anything beyond that, discontinue waxing and consult a medical professional.
Can I reuse my sugar wax?
The same piece of sugar wax can be used over and over again while you wax until it becomes thick with hairs and difficult to spread. Once this happens, you’ll know to grab a fresh piece.
Always start a session with fresh wax and do not place used wax back in the jar. You should only reuse sugar wax like this during one session.
What do I do if my skin has a breakout after sugar waxing?
If you breakout after sugaring, be sure to wash the area with a gentle, fragrance-free cleanser and moisturize with non-comedogenic products. Avoid potentially irritating the area with make-up, fragrance, heavy moisturizers, or harsh exfoliation. Take care of the breakout like you would with any other and it will go away in time.
Be sure to follow the skin prep and aftercare recommendations in the FAQ to avoid breakouts in future sugaring sessions.
-
All of our advice on this page is for informational purposes only and is not to be taken as medical advice. If you have any medical concerns about sugaring, please consult with a healthcare professional before incorporating it into your routine.
Cuts & Open Skin
Do not sugar wax over cuts, open wounds, or broken skin. Sugar wax adheres strongly to the skin surface and can aggravate broken skin, increasing the risk of irritation or infection.
Skin-Thinning Medications
Individuals who are on medications or have recently been on medications that thin the skin (such as Accutane) should not sugar wax.
Individuals who use topical medications that thin the skin (such as Retin-A, Retinol, or Tretinoin) should not wax the areas where these medications have been applied.
If any of the following apply to you, we recommend consulting with a medical professional before getting started - your safety is worth the extra step:
Individuals with existing skin conditions, such as eczema, psoriasis, or dermatitis.
Individuals with varicose veins or broken capillaries in the area to be waxed.
Those with sunburned or recently sun-exposed skin.
Individuals with active skin infections, including bacterial, fungal, or viral infections.
Individuals taking blood-thinning medication.
Individuals with known allergies or sensitivities to the ingredients commonly used in sugar wax.
Those taking medications or using topical treatments that may affect the skin's sensitivity.
Individuals who have recently undergone dermatological treatments or procedures.
Pregnant women or individuals with heightened skin sensitivity due to pregnancy.
Again, all of our advice on this page is for informational purposes only and is not to be taken as medical advice. If you have any medical concerns about sugaring, please consult with a healthcare professional.
-
Sugar Waxing is a body care practice that has been around for millennia. It improves skin quality and removes body hair at the same time.
In more recent history, sugaring has gained popularity worldwide as a sustainable, gentler alternative to hot salon wax and not so environmentally friendly plastic disposable razors.
Created by heating organic lemon juice, pure cane sugar, and filtered water to the perfect consistency; we developed a beginner-friendly sugar paste that is gentle on skin & works with all hair types.
Shape or remove hair from head to toe. We have your brows, face, underarms, bikini & legs covered.
-
When you sugar wax, you are removing hairs from your body from the root. We are not going to lie and tell you to expect a totally pain-free experience.
That being said, the feeling is quick - like removing a band-aid - and many find the sensation to be very manageable compared to other waxing methods. Many also find it gets easier over time.
Ultimately, everyone experiences pain a bit differently. If you are interested in enjoying the convenience of waxing yourself at home, sugaring is one of the least painful methods when done correctly, which is why we put together this guide. So, make sure you follow the proper techniques outlined on this page for a good experience!
-
Depending on your storage preference, counter or fridge, this step will look different.
For counter storage, simply grab a glob by using your hand or a firm tool such as a butter knife to get out the amount you need. Knead until opaque and the heat of your hands will soften the wax so that it’s malleable enough to adhere to the hairs. Now it is ready!
Fridge storage causes the wax to solidify and become very hard. To warm it to the correct consistency, either place the jar in a bowl of warm water (do not get water in the jar) for 10-15 minutes or microwave it for 5-7 second intervals without the lid until it is loose enough to grab. Sugar wax should NEVER be used hot or runny. It could burn you and it will not work properly if it is heated to a runny consistency.
-
In preparation for a sugar wax, there are a few boxes you’ll want to check.
First, you will want to ensure your hair is long enough for the sugar wax to adhere properly. We recommend waxing hair that is about as long as a grain of rice (1/4" - 1/2").
Next, you want to ensure you are waxing clean skin. To prepare, you can lightly exfoliate your skin following step 1 in the guide above. Sugar wax exfoliates your skin, so you do not want to overdo it exfoliating right before or right after, as this may irritate your skin. Right before waxing, use a mild soap to wash oils and lotions off the area and pat dry.
Then, grab your powder and apply to skin & you can begin waxing!
-
Body hair can grow in one direction or in many depending on the area and your hair type.
To find your hair growth pattern, glide a flat item such as a credit card along your skin to see which direction causes your hair to stand up or lay down.
The direction in which you are lifting the hairs is against the grain, and the direction in which you are laying it down is with the grain.
If you notice your hair grows in multiple directions, you can work in smaller sections when applying sugar wax to follow your growth pattern as close as possible.
-
There are a lot of options!
You can use arrowroot powder, corn starch, talc free baby powder, body powder, or even flour if that is all you have on hand.
We use a blend of arrowroot powder and white kaolin clay in our sugaring powder. Arrowroot powder is known for its absorbent properties, while white kaolin clay is known for its gentle exfoliation when used on the skin. Together, they create a powerful combination that leaves your skin feeling soft and silky.
The purpose of powdering the area is to create a moisture free barrier so that the wax can fully grip to the hairs without adhering to your skin or sliding around too much. This makes working with sticky sugar & warm skin much easier. It is a vital step in the sugaring process.
-
There are a few tips that can significantly reduce your risk of bruising.
First, begin with correctly prepped skin to ensure a clean, moisture free surface to begin waxing.
Next, apply wax slowly in the opposite direction of hair growth. Applying it slowly allows it to mold around the base of each hair and lessens the "pulling" feeling. It should not be painful to apply, so if you feel pain, slow it down. Mold 3 times to ensure all hairs in the area get stuck in the wax.
Next, hold skin tight/taut to keep it firm when applying and removing the wax. This step is ESSENTIAL to prevent bruising because it keeps the skin from lifting with the wax. If this step is not followed, the skin will lift and "bounce back" when you sugar the area and this can damage the underlying tissues, causing bruising.
Lastly, remove the wax in a swift flick parallel to the skin surface (do not pull wax up). This not only helps prevent the skin from lifting and bouncing back, but also helps the sugar wax hold together as a strip for effective removal.
-
If you use cloth strips to remove your sugar wax, you're probably wondering how to clean them up.
The best way is to put used strips into a bowl of warm water and allow the wax to dissolve. You can add fresh water and a dash of laundry soap to the bowl after the wax dissolves and give them a quick hand wash, then simply rinse and hang dry until your next use.
We do not recommend putting strips in the laundry machine because they will fray quickly and may become lost. Treating your waxing strips gently will help them last a long time.
We recommend keeping your strips for personal use only.
-
As you wax, your glob of sugar is collecting hair and exfoliating dead skin cells. Through this process, it eventually becomes difficult to use- it will get thick & cloudy with hairs & sticky from your body heat, losing its elasticity.
When it gets to this stage, you can dispose in a few ways:
Simply dissolve the glob in a bowl of warm water & pour down the drain.
Toss it in the trash.
Use in your compost bin to give it a boost.
-
The beautiful thing about sugar wax is how it is water soluble - it simply dissolves with water. This makes clean-up super easy. Simply wash up with a damp cloth or rinse off in the shower.
If you ever find yourself in a messy situation - remember you can always dissolve it and start over!
-
First, you will want to avoid taking a hot shower or bath after waxing because this may irritate your skin if done too soon and you want to give your skin some time to settle down.
To remove wax residue, either take a lukewarm shower to rinse off or use a clean, wet washcloth and pat the sticky areas until residue dissolves.
Next, you will also want to avoid comedogenic (pore blocking) lotions & oils with fragrance and dyes - these are all things that may irritate the skin & block pores.
You can soothe and hydrate with aloe, witch hazel, a non-comedogenic oil such as jojoba oil or grapeseed oil, or a post wax gel intended to calm freshly waxed skin.
Wear loose, breathable clothing for 24-48 hours after waxing & if you waxed your bikini you may want to avoid sex for that timeframe as well to avoid irritation.
-
For the best results with sugaring, you will want to wax routinely every 3-4 weeks, or depending on how fast your hair regrows (for some, it’s up to 6 weeks).
Sugaring helps cause hair to regrow softer and more sparse with each session, so you may find that as you routinely sugar that you will have less and less regrowth.
You want your hairs to be at least 1/4" and at most 1/2" (we recommend trimming if it is over 1/2").
Staying consistent will result in less ingrowns, soft & exfoliated skin, & will yield smooth, beautiful results.
-
Between your waxes, you will want to keep your skin exfoliated and moisturized.
We recommend exfoliating 2-3 times per week to avoid ingrowns. However, you will want to avoid exfoliating 24-48 hours before & after a wax, because this may increase irritation to your skin.
Moisturize with a lotion, oil, or cream that works best for you. We do not recommend using dyes or fragrances in sugared areas (especially the day of waxing) to avoid clogging pores & irritation.
-
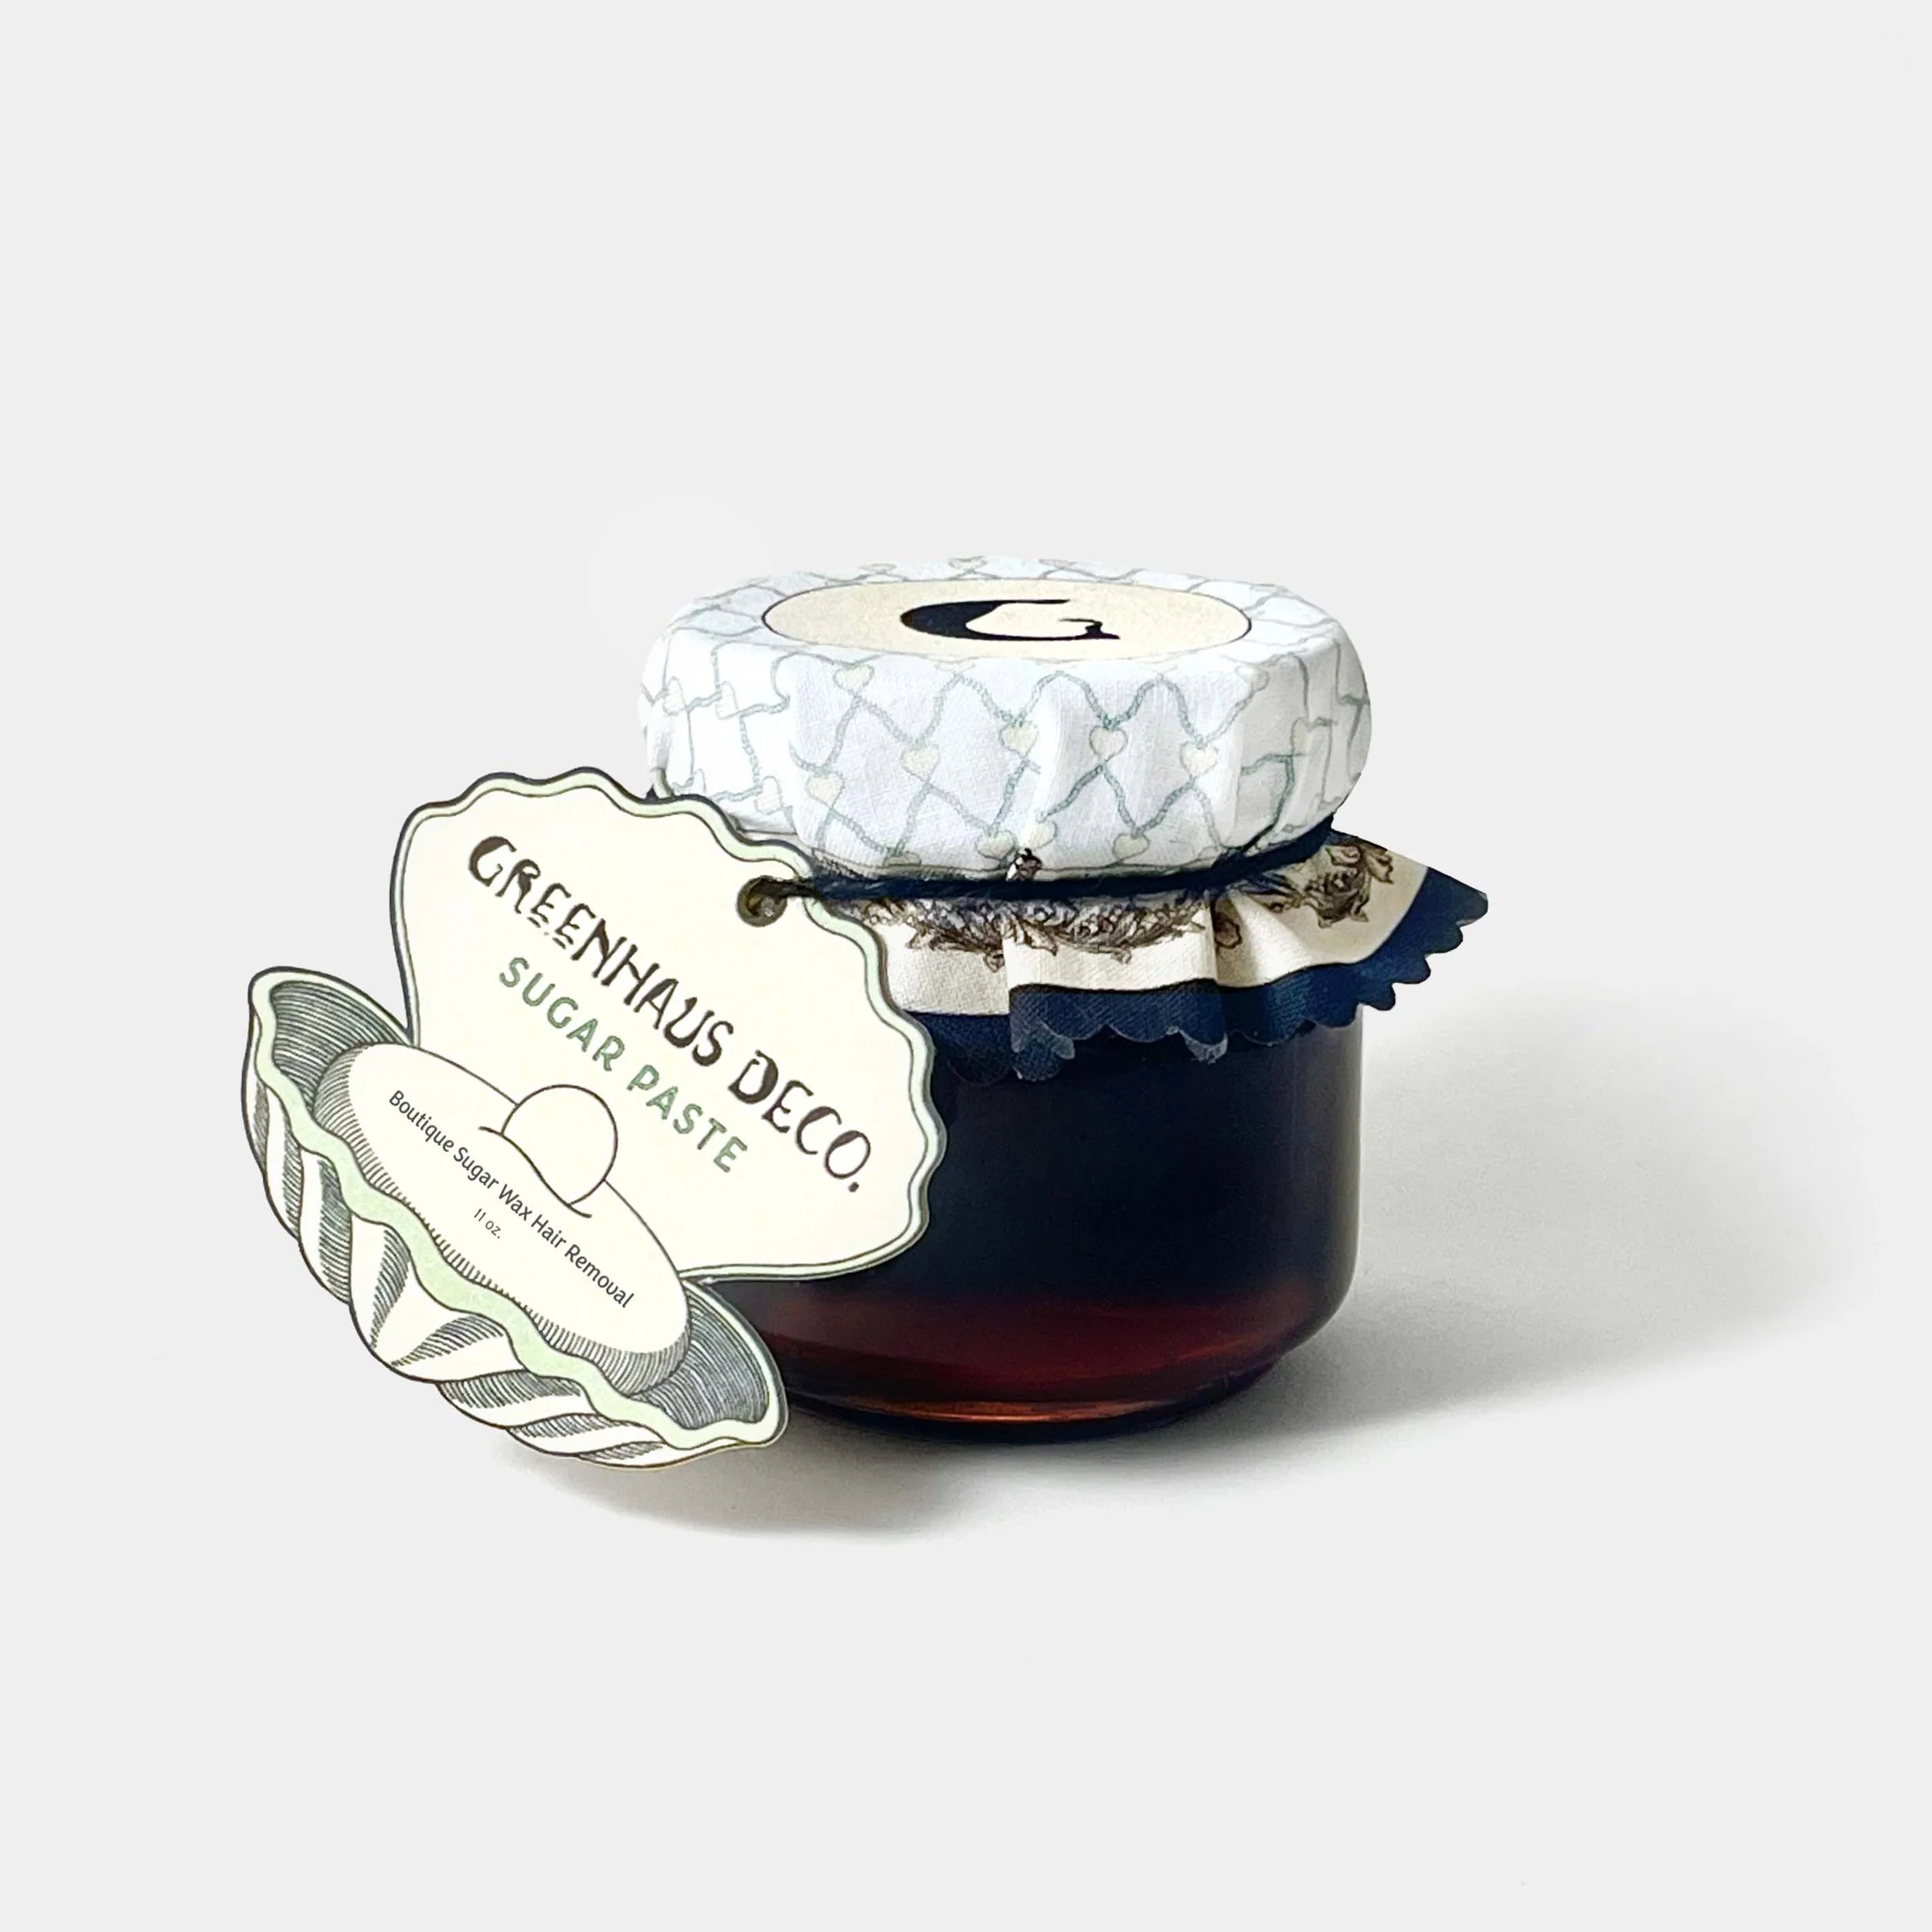
Greenhaus Deco. Sugar Paste can be stored in two ways: On the counter or in the fridge.
Counter: Store in a cool, dry place. Best within 12 months of opening.
Fridge: Best for long-term storage. Bring to room temperature before use.
-
When you get sugar waxed professionally, you’ll notice that estheticians always use gloves. This is mainly to reduce the risk of breakouts, ingrown hairs, & infections that can happen when bacteria, oils, or bodily fluids come into contact with the small wounds left by hair removal. Gloves also help maintain hygiene standards, protect the esthetician from exposure to bodily fluids, and keep large tubs of sugar wax clean throughout the day. Additionally, gloves make clients feel more comfortable, especially in sensitive areas, and protect those with skin sensitivities from irritation caused by any residue on the esthetician’s hands.
At home, wearing gloves when sugar waxing can provide similar benefits by minimizing the risk of breakouts, ingrown hairs, and infections. Gloves help prevent bacteria, oils, or cuts on your hands from contacting the waxed area. However, thoroughly washing your hands and ensuring they are free of cuts can also reduce these risks.
Since you’re working on your own skin, you don’t have all the same concerns a professional does when working with multiple clients. Gloves offer extra protection, but clean, well-prepared hands can reduce the risks to a level that many feel comfortable with.
Ultimately, it’s up to you to decide whether the risks are low enough for you to feel confident waxing with or without gloves.
-
We get this question so often on social media (mostly as a joke) - but for anyone who really wants to know:
No, Greenhaus Deco. Sugar Paste may only be made with organic lemon juice, pure cane sugar, and filtered water, but our sugar paste is a body care product not intended for consumption.
If you want to taste sugar wax, you are welcome to find a recipe online and try making it yourself (although, we think your taste buds will love you more if you make something tastier, like lemon bars or brownies).
SHOP OUR SUGARING COLLECTION

Our beginner-friendly Sugar Waxing Kit includes everything you need to get started: an 11 oz Sugar Paste, Dusting Powder, 100% organic cotton reusable strips, and the full-size stainless steel seashell applicator. Follow along with our step-by-step sugaring guide for salon-quality results at home.
Our Sugar Paste is made with lower water content for a firmer, easier-to-control texture - ideal for beginners and at-home pros. Suitable for brows, face, underarms, bikini, and legs, with results that last weeks.
Want to restock or keep things simple? Our Sugar Paste & Dusting Powder are also sold separately.

Our Sugar Paste is formulated for at-home use, with a firmer, easy-to-control texture designed for beginners and at-home pros. Suitable for brows, face, underarms, bikini, and legs, it offers consistent control and long-lasting results - so you can show up how you want for weeks at a time.
Every jar includes access to our step-by-step sugaring guide.
Available in 11 oz and 5 oz sizes.
We recommend pairing this with our Dusting Powder for best results.
New to sugaring? Everything you might need to get started is in our Sugar Waxing Kit.
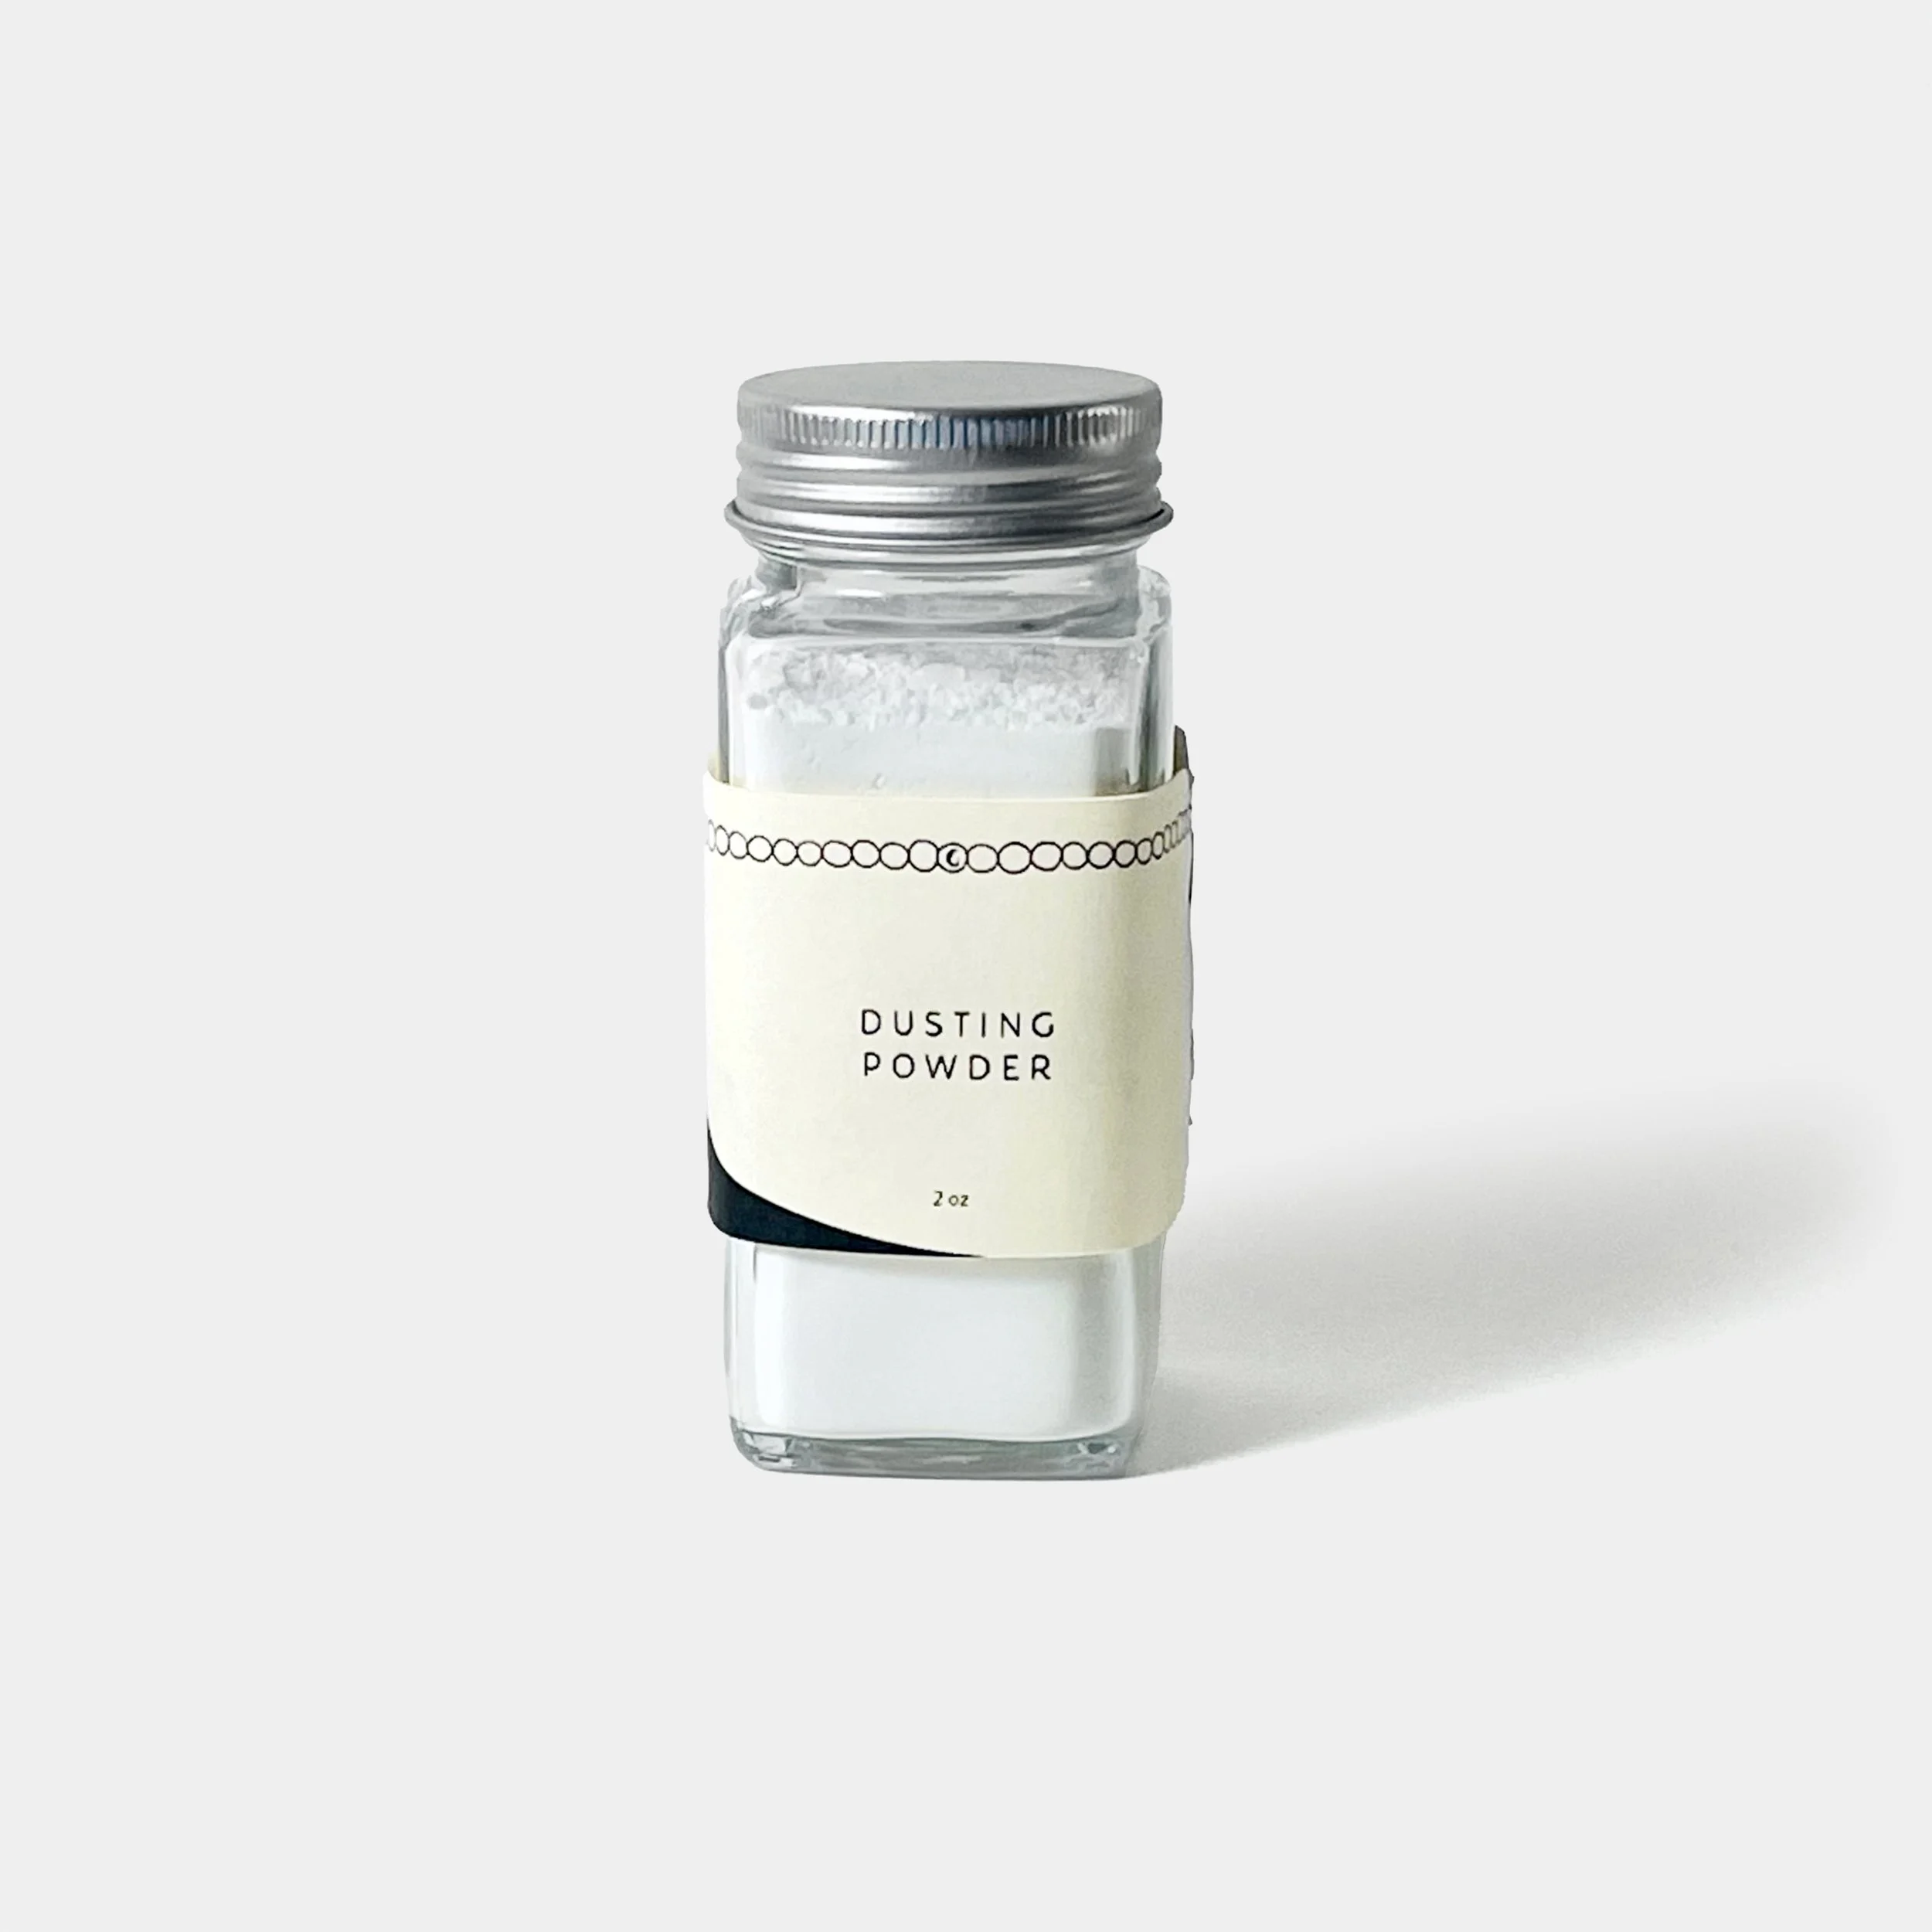
Our dusting powder is a finely milled blend of natural arrowroot powder and white kaolin clay, specifically designed for sugar waxing. This talc-free formula helps sugar wax spread evenly and grip hair instead of skin by absorbing moisture and oil for a smoother, more effective sugaring experience.
This pairs perfectly with our Sugar Paste.
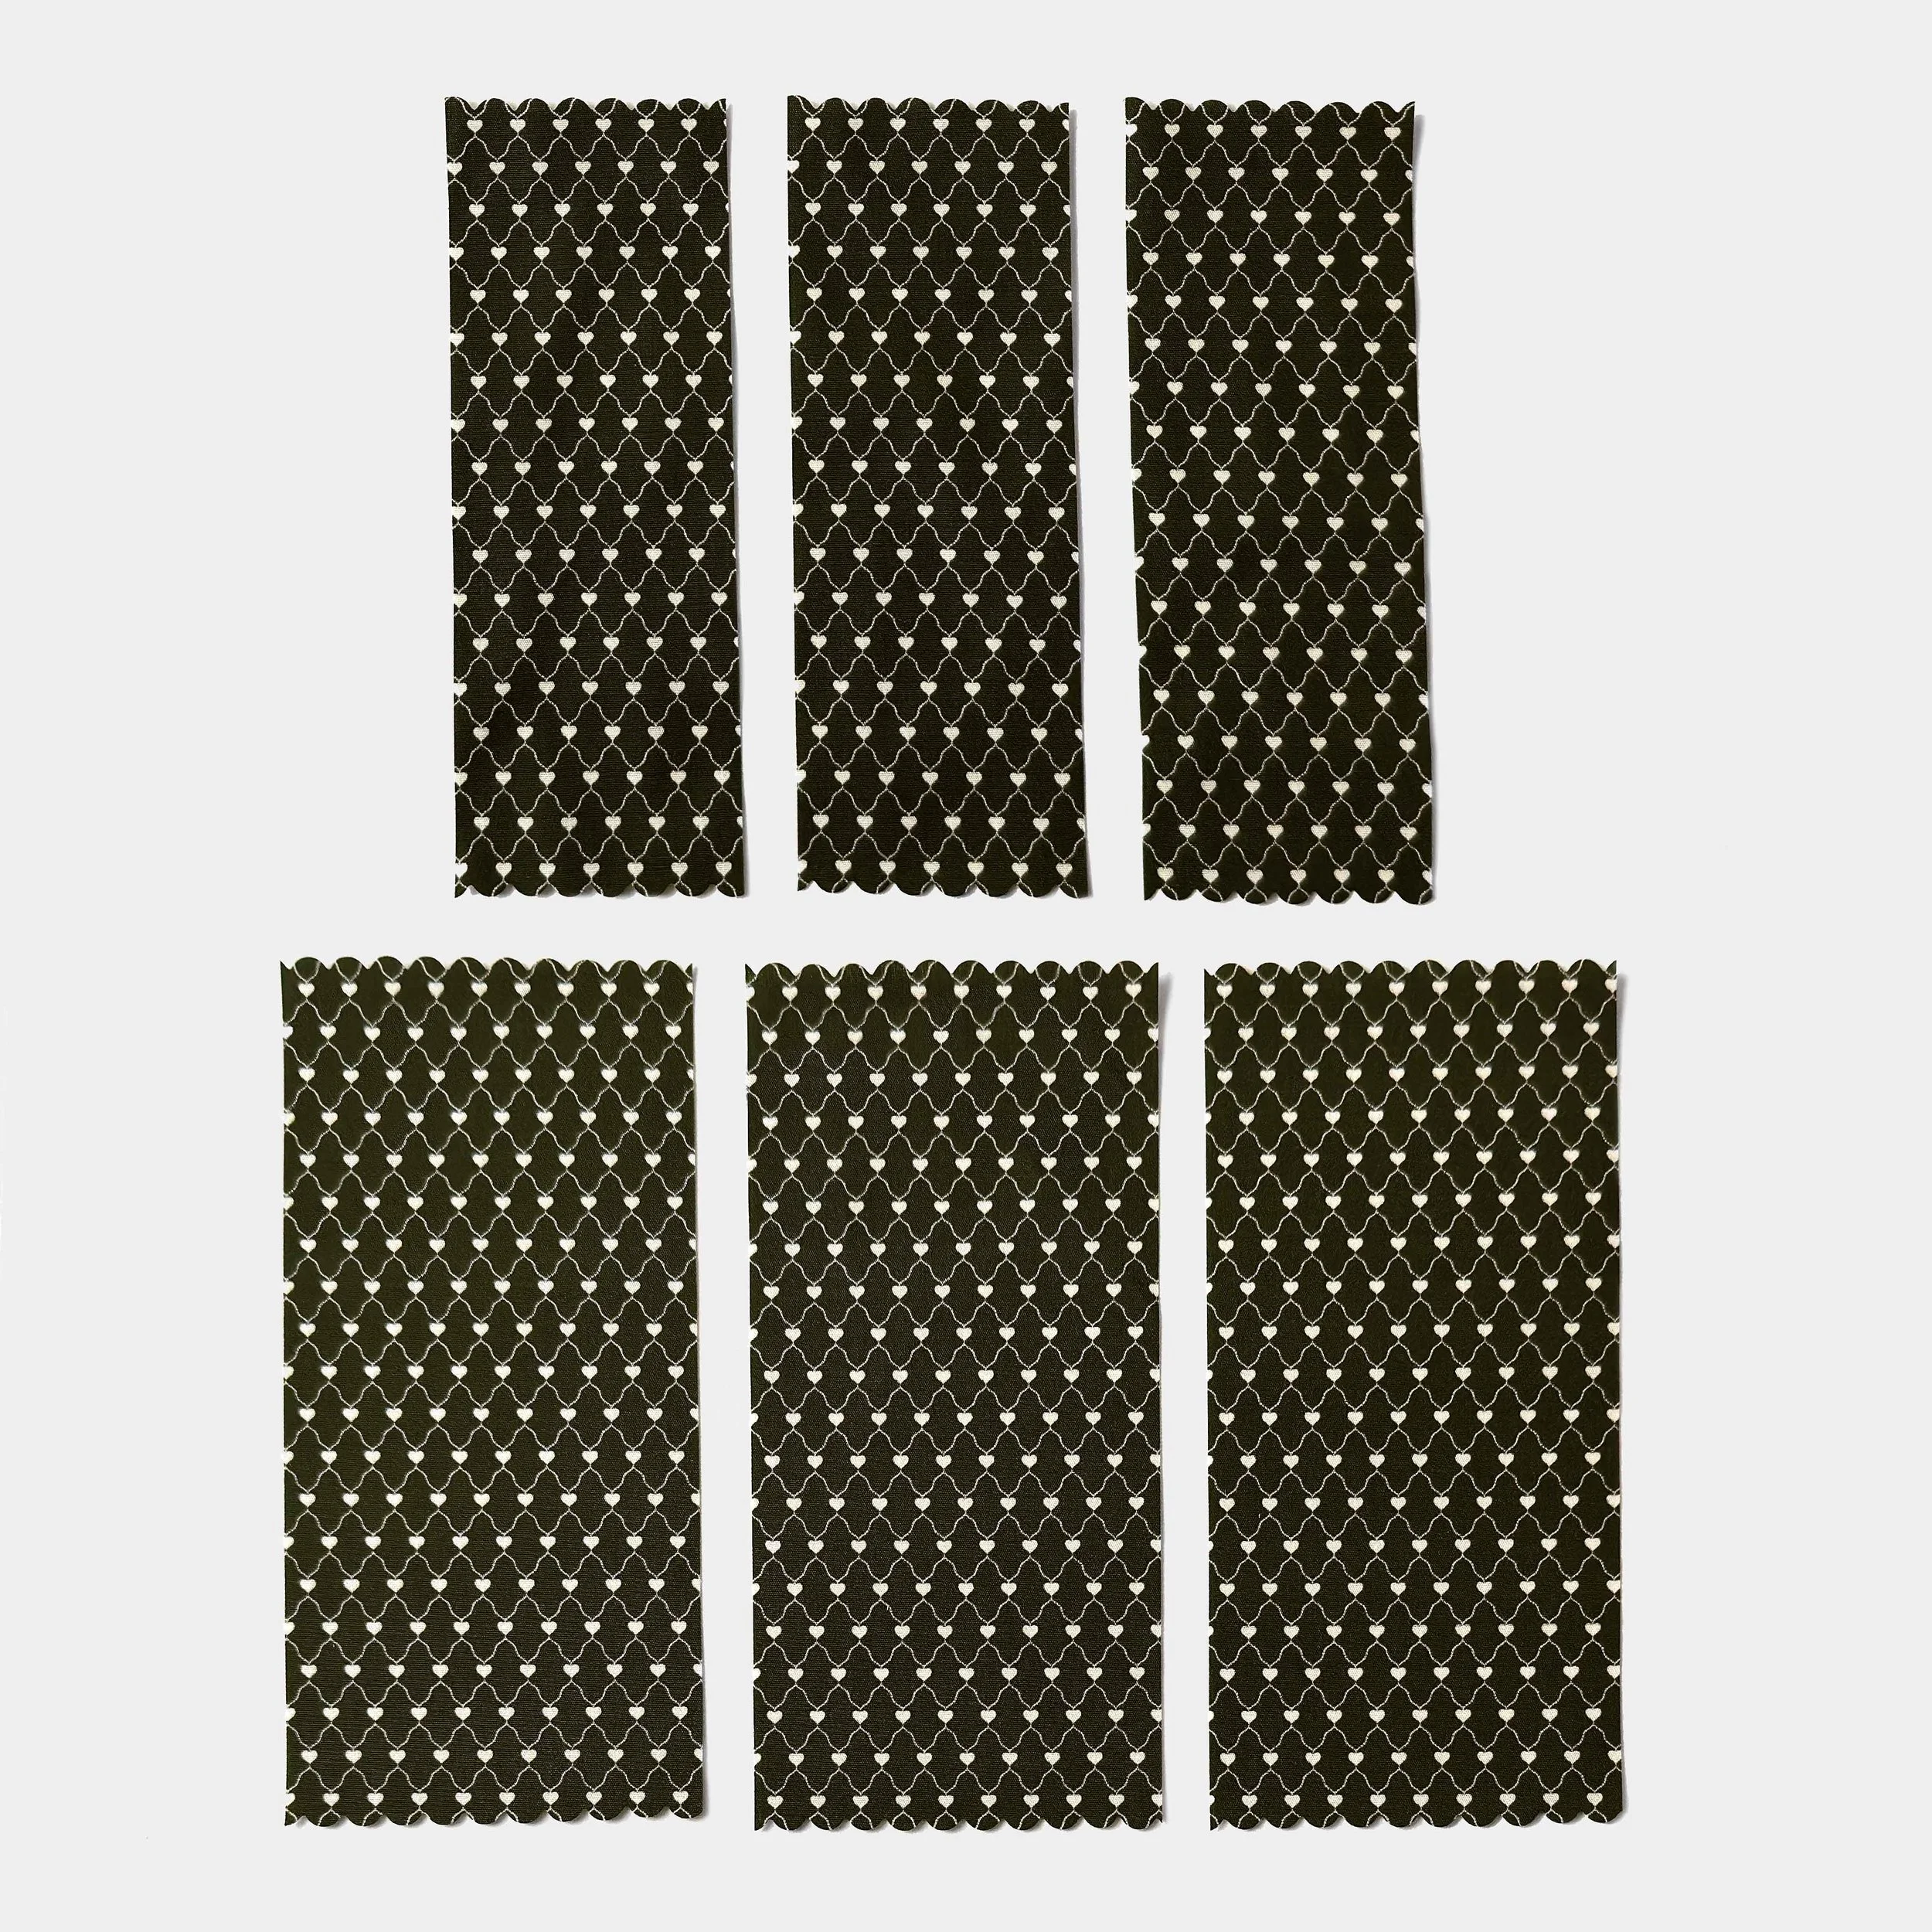
A set of reusable 100% organic cotton waxing strips, printed with our heart pattern in black & cream.